
Some years ago I bought the children's book The Snow Tree by Caroline Repchuk, illustrated by Josephine Martin. It is delightful. I don't usually buy books (I'm more of a public library person) but this one was just too cute. The storyline starts with Little Bear coming out of his den to find the whole world covered in white. "Where have all the colors gone?" he wonders. Then various forest animals start appearing with offerings of color to hang on a snowy tree. So I bought a small, fake, snowy tree and decided to make ornaments to go along with the story. The first animal to arrive is Lynx, who brings orange leaves to remind them of fall and of sunsets. |
 |
| Supplies, clockwise from upper left corner: Sculpey UltraLight polymer clay, the largest Ivy Leaf Embossing Cutter by Lisa Pavelka, rubbing alcohol, Tim Holtz Adirondack alcohol ink in Butterscotch and Mountain Rose, PearlEx mica powder in Sparkle Gold, eye pins (any brand or color will work), a paintbrush, and gloves. You can mix/match/omit/substitute any materials you wish to--this is just how I did it. Not pictured: an oven for baking. |
 |
| Condition the Ultralight and roll it flat (Here I've used the thickest setting on my pasta machine). Using the leaf cutters, make as many leaves as you want. Smooth any ragged edges with your finger. |
 |
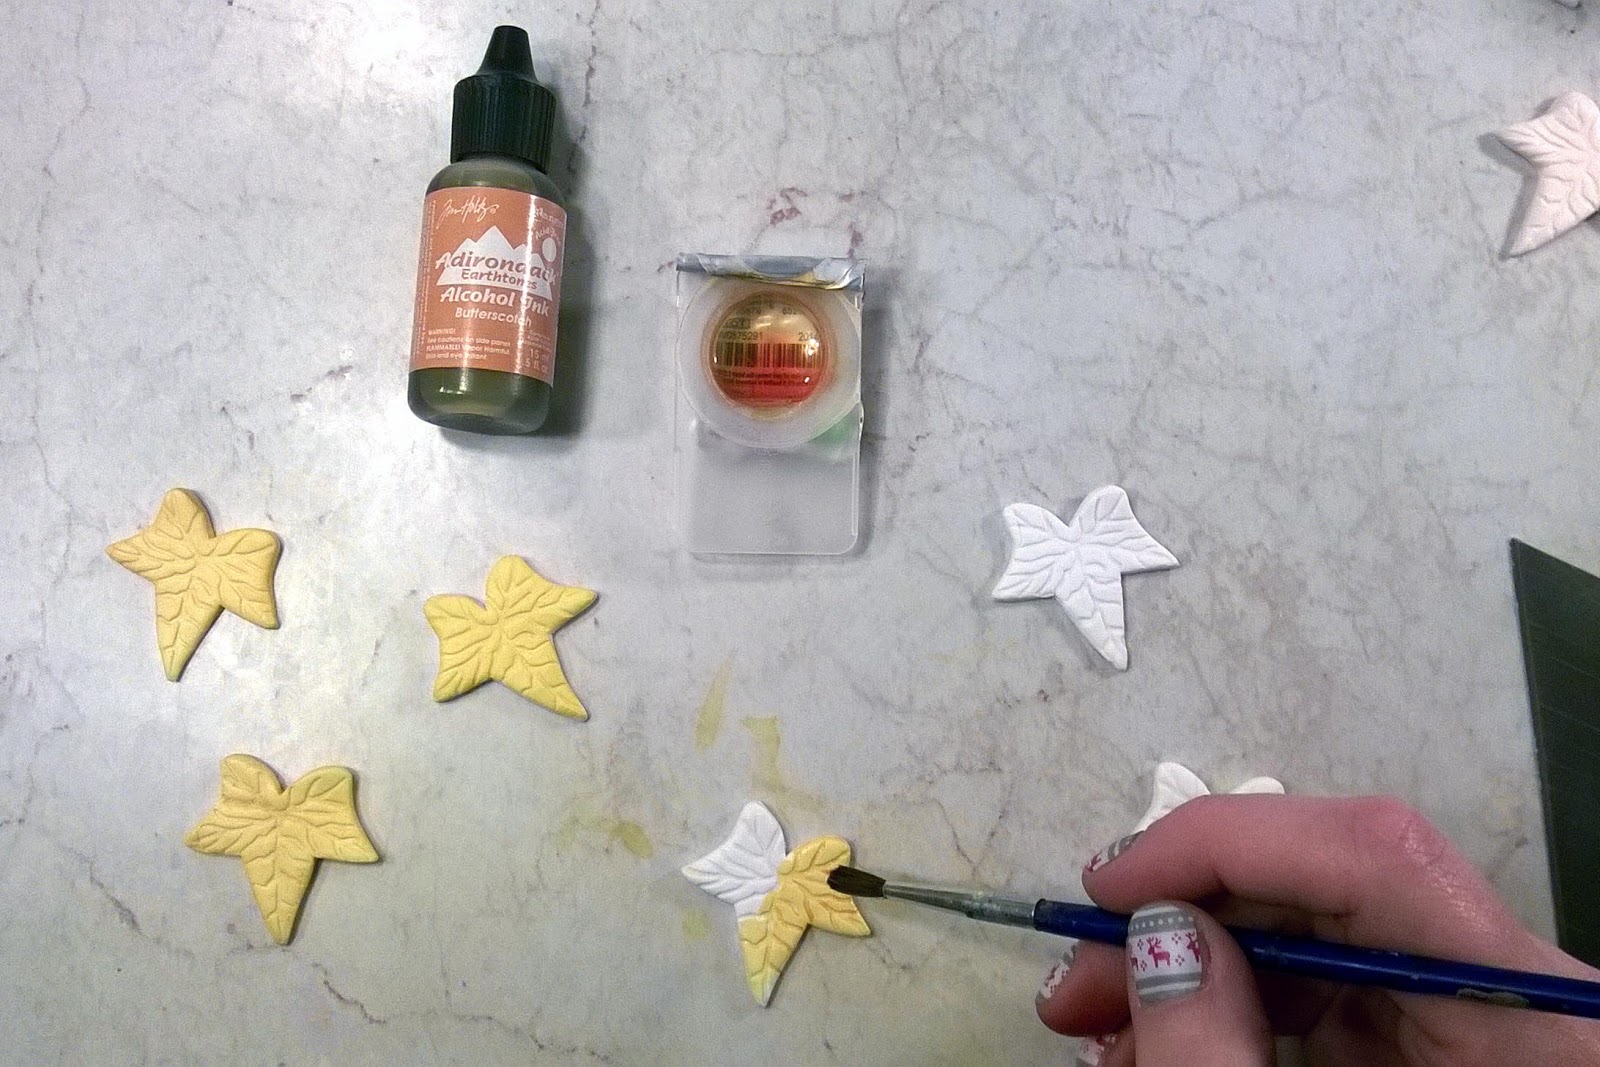
| Using a bit of rubbing alcohol and five or six drops of Butterscotch alcohol ink, brush the front, back, and sides of the leaves with a wash of color. Since I only needed a small amount of ink mixture, an old, clean contact lens package was the perfect size. Note: alcohol ink can stain some surfaces, so you may want to put down a protective covering (which I didn't). |
 |
| Make another alcohol ink/rubbing alcohol mix using Mountain Rose ink and dab it on the outside edges of the leaves - I did this only on the front of the ornaments. I wore gloves to avoid dyeing my fingers pinkish-orange. |
 |
| Insert a short eye pin into each leaf. Try to keep it from poking out the front or back, which can be tricky. |
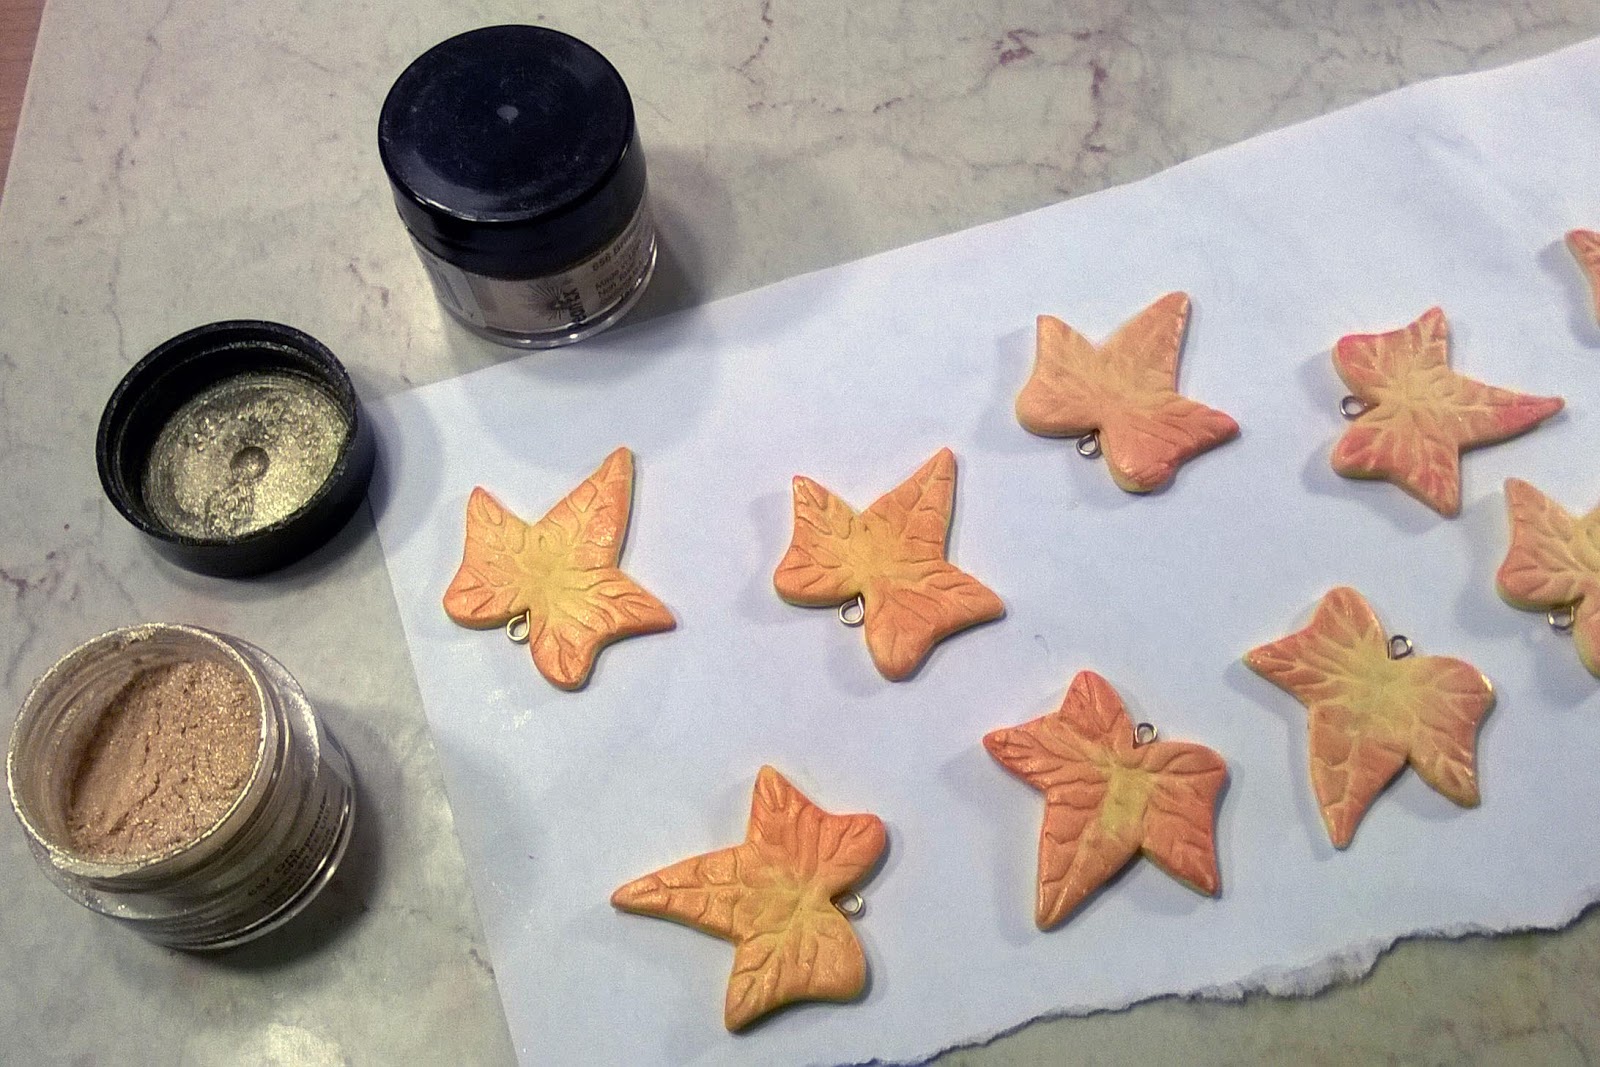 |
| As an afterthought, I lightly dabbed some gold mica powder on the front of the leaves. BAKE according to the instructions for the specific clay you are using. For UltraLight, it's 15 minutes for every 1/4 (6mm) inch at 275°F (130°C). See * note below. |
 |
| When I checked the leaves after about 15 minutes, the backs of some of them looked quite thin and breakable (I could see the eye pins), so I reinforced them with more UltraLight and alcohol ink and baked again. *I have an oven thermometer and can be sure that the temperature never gets higher than 275°F, so I left the leaves in the oven for about forty-five minutes to make them stronger. |
 |
| And ta-da! Orange leaves from Lynx. You can then attach hooks to make ornaments or findings to create jewelry or anything else your creative mind can come up with. |
 |
| Here is the entire process in one picture (R-L): roll out clay, cut leaves, wash with diluted alcohol ink, dab the edges with diluted alcohol ink and gold mica powder (not pictured), insert eye pins, and bake. I will probably spray mine with an acrylic sealer to protect the ink and powder. |

.JPG)


